
Have you ever spent a Sunday afternoon batch-cooking eight portions of chicken and rice, only to find the last two containers looking tired, watery, and unappetizing by Thursday? You are not alone.
For small-scale food businesses, private chefs, or serious home cooks running a side hustle, the post-cooking storage phase is often the weakest link. According to a 2022 food waste study by the Food and Agriculture Organization (FAO), nearly 17% of food waste in commercial kitchens occurs due to improper storage and premature spoilage. The culprit is not always the refrigerator’s temperature—it’s the air.
The Hidden Cost of Oxygen in Meal Prep
Oxygen is the enemy of freshness. It accelerates oxidation, promotes bacterial growth, and turns that perfectly seasoned grilled chicken into a dry, rubbery disappointment. While standard plastic wrap or even rigid containers with lids can slow this process, they cannot stop it.
This is where the concept of oxygen removal becomes critical. In professional kitchens, chefs rely on a method that extracts air from the packaging before sealing. This technique, widely used for sous vide cooking, also revolutionizes meal prep storage. By removing the air, you effectively put the food’s biological clock on pause—not just slow it down.
But here is the challenge many face: manual handheld sealers are slow, inconsistent, and often fail to remove enough air. They are designed for occasional use, not for processing 30 to 50 meal packs every Sunday.
A Structured Workflow for Efficient Batch Storage
To truly streamline your weekly preparation, you need a repeatable, reliable workflow. Based on industry practices from high-volume meal prep companies, here is a three-stage process that works.
Stage 1: Pre-Sealing Preparations
Before you even turn on any machine, organize your cooked ingredients. Allow them to cool to room temperature (but not beyond two hours, per USDA food safety guidelines). Portion each meal into individual servings.
-
Best practice: Use pre-cut, food-grade pouches.
-
Common mistake: Sealing hot food—this creates steam, which turns into water inside the pouch and ruins the seal integrity.
Stage 2: The Air Removal and Sealing Process
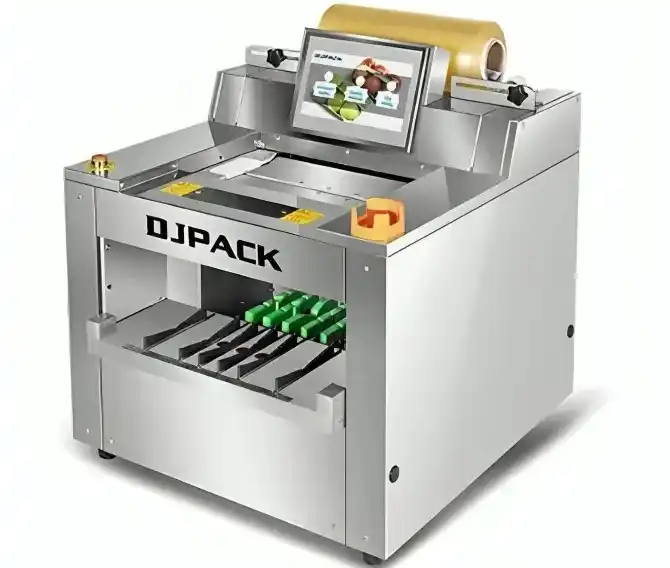
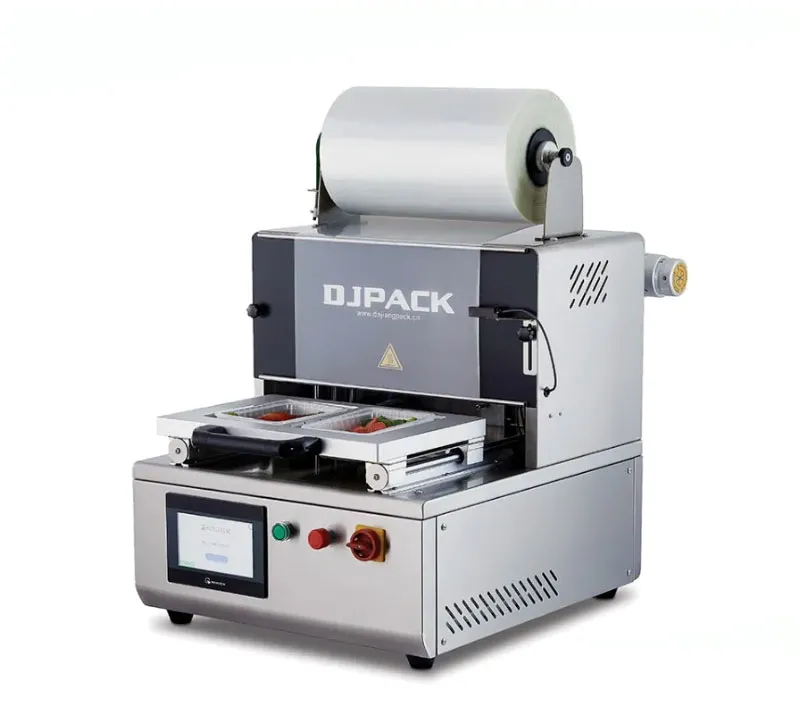
This is the core of the operation. Instead of struggling with a handheld device that requires two hands and a prayer, consider a countertop unit that automates the process.
A reliable food wrapping machine for batch processing typically follows these steps:
-
Place the open end of the pouch over the sealing bar.
-
Close the lid. The machine will automatically start the air extraction.
-
Once the preset vacuum level is reached, the sealing bar activates, fusing the pouch shut.
For dry meals like rice and grilled chicken, this takes about 15-20 seconds. For moist dishes like curry or stews, you want a machine that offers “gentle vacuum” mode to prevent liquid from being sucked out. Many commercial-grade units now include adjustable vacuum timers and double-sealing bars for redundancy.
Stage 3: Cooling, Labeling, and Storage
After sealing, lay the pouches flat to cool completely before refrigerating or freezing. Label each pouch with the meal name and date. Flat pouches stack neatly, taking up 70% less space compared to rigid containers. This is not just an efficiency gain; it is a logistics improvement for any small business.
Matching the Equipment to Your Volume
A hobbyist cooking ten meals a week has different needs than a meal prep startup producing 200 units weekly. Here is a quick comparison table based on real-world operation data from small commercial kitchens.
| Feature | Entry-Level Manual Unit | Automated Air Removal System |
|---|---|---|
| Cycle Time | 30-45 seconds (manual) | 15-25 seconds (automatic) |
| Seal Bar Length | 12 inches | 16-20 inches |
| Liquid Handling | Poor (requires pre-freezing) | Good (with gentle mode) |
| Consistency | Operator-dependent | High (digital settings) |
| Weekly Capacity | <50 packs | 100-300 packs |
If your operation involves more than two sealing sessions per week, or if you process dishes with marinades or sauces, the automated solution quickly becomes a necessity rather than a luxury. The consistency of a machine removes the risk of human error—no more finding a failed seal in the freezer three days later.
Three Critical Factors Most Buyers Overlook
When upgrading your workflow, avoid these common pitfalls identified by commercial kitchen consultants.
-
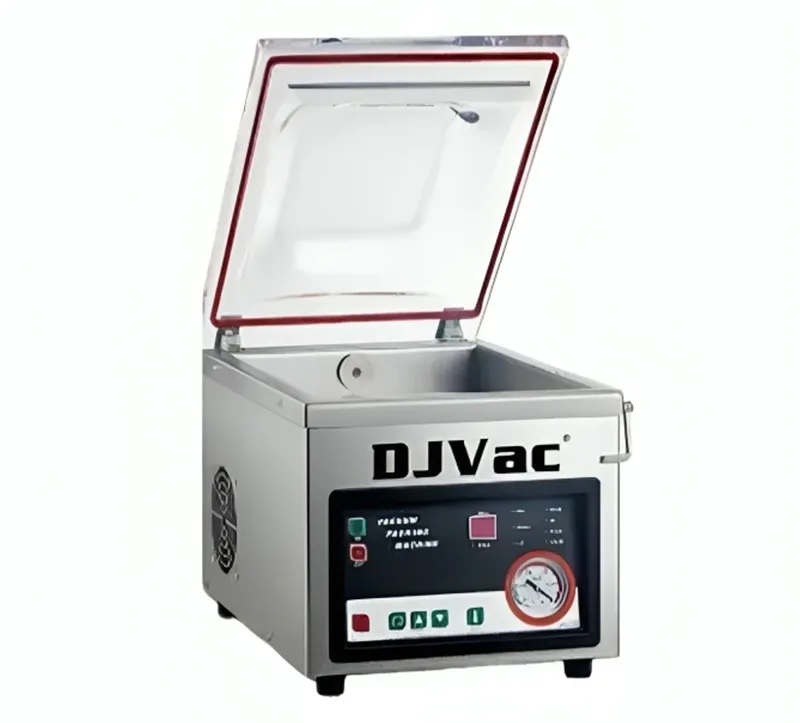
Seal Bar Width is Everything A machine with a 12-inch seal bar sounds fine until you try to seal a family-sized portion of lasagna or a 16-inch sub roll. Always choose a seal bar at least 2 inches wider than your largest pouch. If you are considering vacuum packaging equipment for meal prep, prioritize the chamber size or external seal bar length first.
-
Oil vs. Oil-less Pumps Oil-piston pumps are more durable for heavy daily use but require maintenance. Oil-less pumps are quieter and maintenance-free but have a shorter duty cycle (typically 30% vs. 70% for oil pumps). For meal prep (intermittent use), an oil-less pump is usually sufficient.
-
The “Moist” Setting Myth Many consumer machines have a “moist” setting, but it only reduces suction time. Professional systems use a separate sensor or adjustable timer to prevent liquid from boiling (yes, liquid boils at room temperature under full vacuum). This is non-negotiable for soups or stews.
If you find yourself frequently storing liquid-based dishes and are unsure which technical specification meets your weekly volume, exploring a dedicated solution with adjustable vacuum levels is wise. View detailed specifications for liquid-handling models →
Extending the Life of Your Investment
Once you integrate this workflow, ongoing maintenance is simpler than you think. Wipe the sealing bar after each session to remove residue. Replace the sealing tape (a consumable part) every three to six months depending on usage. For vacuum chamber machines, clean the chamber and the gasket weekly.
One small catering business in Texas reported that after switching to an automated system, their ingredient spoilage dropped by 60% within the first month. “We used to throw away unused prepped vegetables every Tuesday,” said the head chef. “Now, everything we chop on Sunday is still crisp on Friday. Our food cost percentage improved immediately.”
The Final Verdict
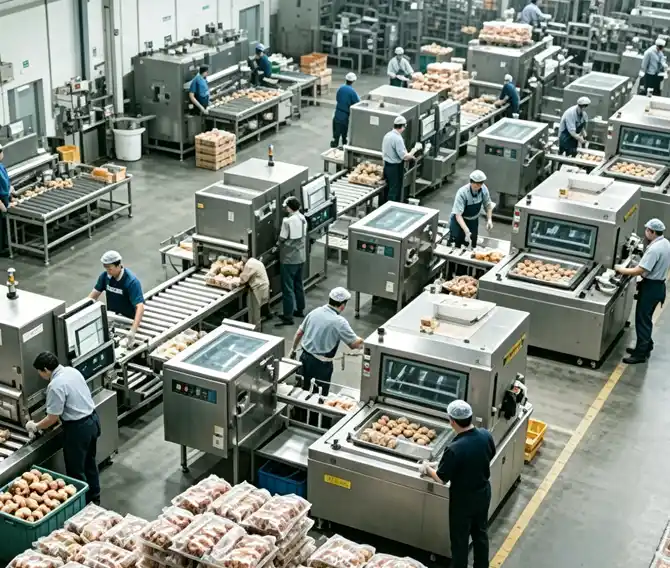
Optimizing your meal prep workflow is not about buying the most expensive machine. It is about matching the air removal method to your volume, food types, and storage requirements. Start by calculating your weekly pack count. Then, test your most challenging recipe (like a watery curry) in any potential system before committing. Finally, prioritize seal width and liquid control features over speed if you are under 200 packs per week.
For those who are ready to move beyond handheld tools and implement a robust, repeatable solution tailored to food prep, a well-designed commercial food wrapping machine offers the reliability and consistency your kitchen deserves. Explore the full range of application scenarios →
What is your biggest meal prep storage frustration? Do you struggle with freezer burn on meats, or is it the leakage from saucy dishes? The right equipment can solve both—if you know what to look for.





 English
 Pусский