
You have invested in vacuum packaging equipment, trained your operators, and fine-tuned your sealing parameters. But how do you know each seal is truly hermetic? A seal that looks perfect to the naked eye can harbor micro-leaks — channels so small that oxygen, moisture, or even bacteria can pass through over time, compromising product safety and shelf life.
Seal integrity testing is the quality assurance bridge between packaging production and consumer safety. This guide explains the primary testing methods available — from simple visual inspections to advanced, instrument-based techniques — and helps you determine which approach fits your operation, product type, and regulatory requirements.
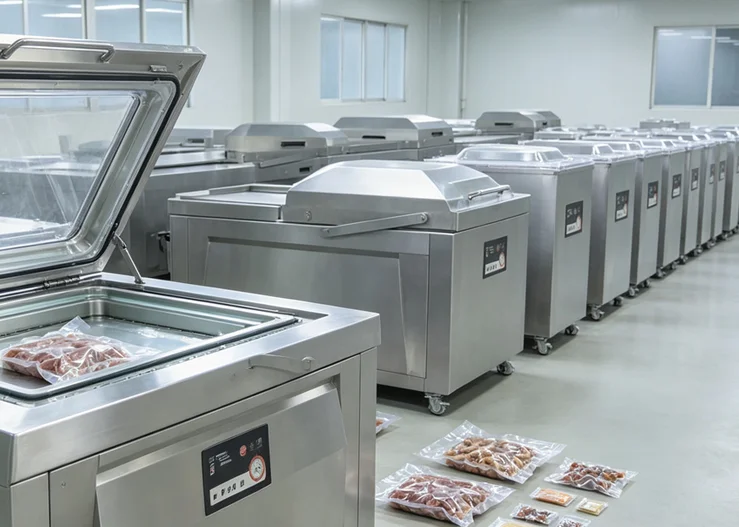
Why Seal Integrity Matters — The Science Behind the Seal
A vacuum package’s seal is its most vulnerable point. Leaks in vacuum packaging may appear as imperfections in the package components themselves or at the seal juncture between mated components. The ability to detect leaks is necessary to ensure consistency and integrity of packages.
The consequences of seal failure include:
-
Oxygen ingress: Breaks the vacuum, accelerates oxidation, and shortens shelf life
-
Microbial contamination: Creates a pathway for spoilage organisms and pathogens
-
Moisture loss or purge leakage: Degrades product appearance and creates unsanitary conditions
-
Regulatory non-compliance: May violate food safety requirements for reduced oxygen packaging (ROP)
For food products in reduced oxygen packaging (which includes vacuum packaging), seal integrity is a critical control point. The U.S. Department of Agriculture (USDA) Food Safety and Inspection Service requires that appropriate integrity tests be conducted on packages to identify the presence or absence of micro-leaks.
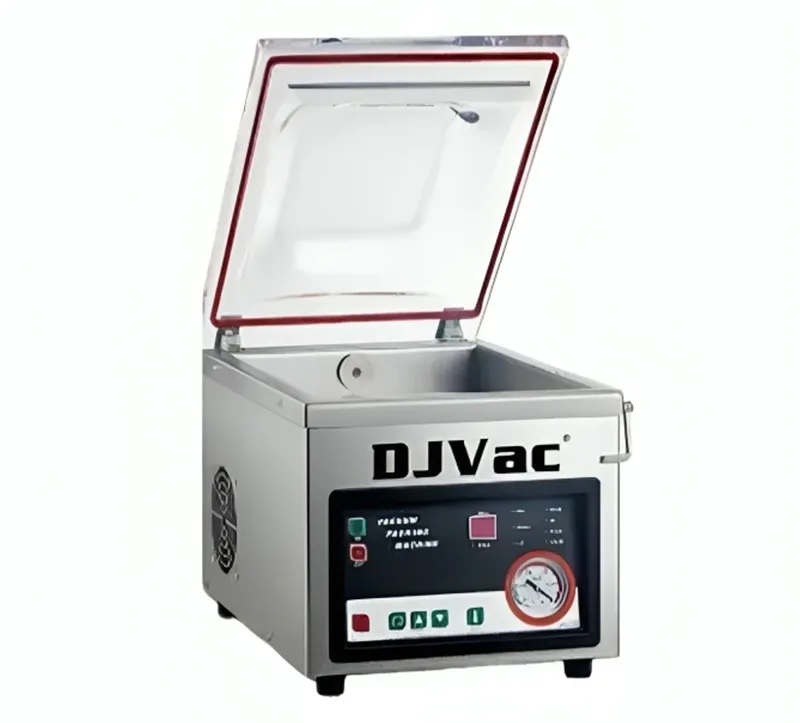
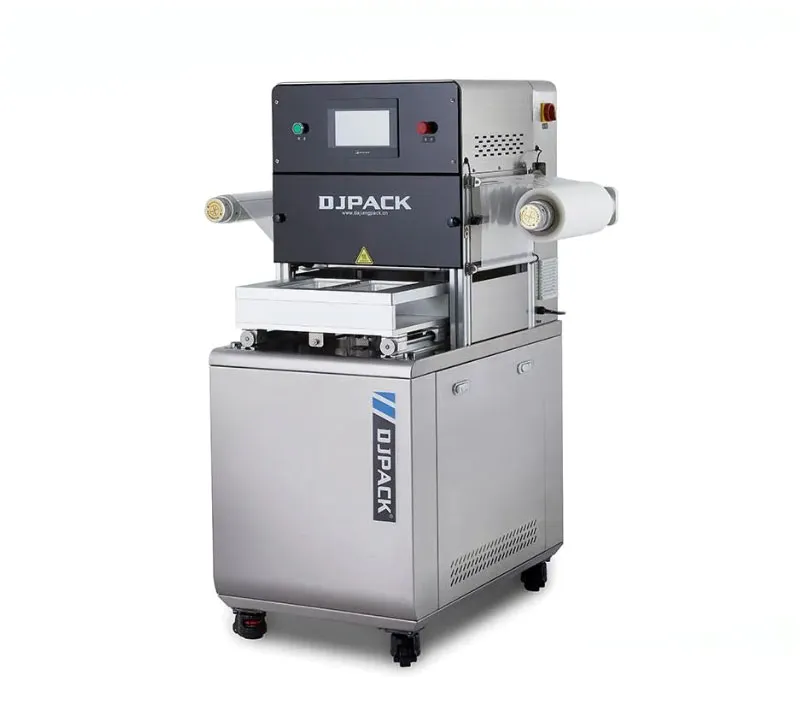
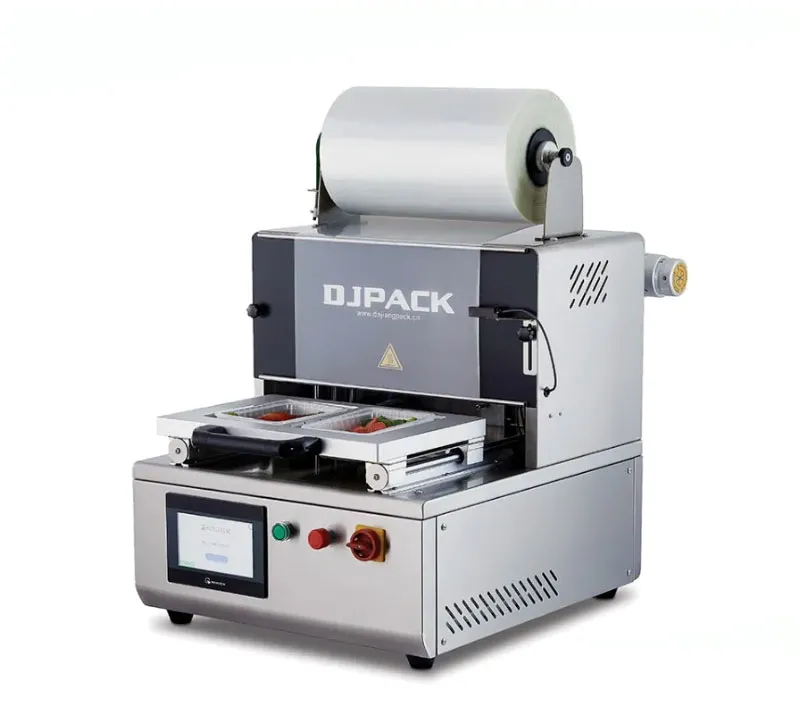
To understand how different vacuum packaging equipment designs — including seal bar materials and configurations — influence seal quality, explore our range of vacuum packaging machine.
ASTM-Standardized Seal Integrity Testing Methods — An Overview
ASTM International has developed several standardized test methods specifically for package seal integrity. The table below compares the most widely used methods.
| Test Method | ASTM Standard | Destructive? | Detection Level | Best Suited For |
|---|---|---|---|---|
| Vacuum Decay | F2338 | Non-destructive | 5–100 μm holes | Rigid trays, flexible pouches, bottles |
| Bubble Emission | F2096 / D3078 | Non-destructive | Gross leaks only | Flexible packaging; initial QC screening |
| Dye Penetration | F1929 / F3039 | Destructive | 20–50 μm channels | Porous and non-porous packaging |
| Seal Strength | F88/F88M | Destructive | Quantitative force measurement | Process validation and control |
| Burst Testing | (Multiple) | Destructive | Weakest point identification | Overall package integrity assessment |
Each method has distinct advantages and limitations. The choice depends on your product, package type, production volume, and quality assurance objectives.
External reference:
The U.S. FDA recommends that manufacturers include validated physical or chemical container and closure system integrity methods — such as bubble tests, pressure/vacuum decay, trace-gas permeation/leak tests, dye penetration tests, seal force, or electrical conductivity and capacitance tests — in stability protocols.
Detailed Examination of Primary Testing Methods
Vacuum Decay Method (ASTM F2338)
The vacuum decay method detects package leaks by measuring the rise in pressure (vacuum loss) in an enclosed evacuated test chamber containing the test package. Vacuum loss results from leakage of test package headspace gases and/or volatilization of test package liquid contents located in or near the leak.
Detection sensitivity varies by package type:
-
Rigid, nonporous packages: hole defects of at least 5 μm in diameter
-
Non-lidded trays: hole or crack defects of at least 50 μm
-
Trays sealed with porous barrier lidding: holes of at least 100 μm; channel defects from 125 μm wires detectable
Key advantages:
-
Non-destructive — packages can be returned to the production line
-
No introduction of dyes, gases, or other extraneous substances
-
Rapid and suitable for 100% on-line testing or statistical sampling
-
Useful for optimizing package sealing parameters and comparative evaluation
Limitations:
-
Requires masking or blocking of porous barrier surfaces during testing
-
May not detect leaks completely plugged by liquid contents unless chamber is evacuated below the liquid’s vaporization pressure
Bubble Emission Test (ASTM F2096 / ASTM D3078)
The bubble leak test — also known as the water bath test — is one of the most commonly used methods for leak testing in food packaging. ASTM F2096 is a standardized test method for detecting gross leaks in sealed flexible or rigid packaging by using internal pressurization and water immersion.
How it works:
The package is submerged in water within a transparent vacuum chamber. When vacuum is applied, if there is a leak, air escapes from the package and forms visible bubbles in the water. ASTM D3078 covers the determination of gross leaks in flexible packaging containing a headspace gas by bubble emission.
Key advantages:
-
Non-destructive for most rigid and semi-rigid packages
-
Fast and easy to perform
-
Cost-effective leak detection method
-
Complies with FDA, ISO 11607, and GMP requirements
Limitations:
-
Positive pressure inside the pouch after vacuum is drawn may force the product to plug small leaks
-
Detection capability depends on product type, packaging material, and test parameters
-
Limited to gross leaks; not suitable for detecting micro-leaks
External reference:
The USDA FSIS provides detailed guidance on examining pouches, plastic trays, and cups for seal defects. Inspectors are trained to examine all surface areas for defects, examine the edges of each seal for evidence of product in the seal area, and test for seal creep by grasping the unsealed area and exerting steady pressure.
Dye Penetration Test (ASTM F1929 / ASTM F3039)
Dye penetration testing is a qualitative seal integrity test used to detect leaks.
-
ASTM F1929: Used for porous materials such as Tyvek or paper
-
ASTM F3039: Used for non-porous packaging systems such as films, foils, and laminated packaging
How it works:
A dye penetrant solution is applied locally to the seal edge to be tested for leaks. After contact for a minimum specified time, the package is visually inspected for dye penetration, or the seal edge is placed against an absorbent surface and inspected for staining.
Detection capability:
ASTM F1929 can detect leaks as small as approximately 20–50 μm in the packaging seal path. ASTM F3039 can detect channel defects in non-porous packaging materials.
Key advantages:
-
Provides visual confirmation of leak location
-
Simple and inexpensive
-
Well-established in regulatory frameworks
Limitations:
-
Destructive test — packages cannot be returned to production
-
Qualitative rather than quantitative
-
Requires careful interpretation to avoid false positives
Seal Strength Testing (ASTM F88/F88M)
Seal strength is a quantitative measure for use in process validation, capability, and control. ASTM F88/F88M is the standard test method for determining the seal strength of flexible barrier materials.
How it works:
On pouches, strips with a width of 15 or 25 mm are cut through the seal and pulled apart during tensile testing. The test measures the force required to peel apart a heat seal, providing a quantitative measure of seal bond quality and integrity.
Key advantages:
-
Provides objective, quantitative data
-
Essential for process validation and capability studies
-
Helps measure packaging processes’ ability to produce consistent seals
Limitations:
-
Destructive test
-
Requires specialized tensile testing equipment
-
Does not directly detect leaks — it measures seal strength as a proxy for quality
Burst Testing
The burst test is a good overall test for seal integrity because it stresses a package uniformly in all directions and identifies the location of the weakest point and the pressure at which it fails. The FDA describes burst testing as a means for determining the ability of a hermetically sealed package to withstand internal pressure.
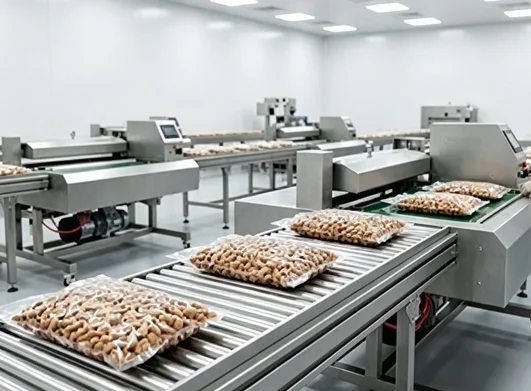
Visual Inspection — The First Line of Defense
Before any instrumented testing, visual inspection remains essential. The USDA FSIS provides detailed guidance on what to look for:
-
Examine all surface areas for defects
-
Examine the edges of each seal for evidence of product in the seal area
-
Test for seal creep by grasping the unsealed area and exerting steady pressure
-
Pay particular attention to defects such as entrapped product, wrinkles, moisture, and foreign material in the seal
-
For retorted containers, check for a permanent, legible production code
What visual inspection can detect:
-
Incomplete fusion
-
Entrapped product in the seal area
-
Wrinkles and folds
-
Moisture or foreign material
-
Seal creep (seal displacement under pressure)
What visual inspection cannot detect:
-
Micro-leaks smaller than the eye can see
-
Channel defects beneath the surface
-
Seal degradation that occurs over time
This is why visual inspection must be complemented by instrumented testing methods.
For guidance on integrating seal integrity testing into your broader quality assurance program — from equipment validation to production monitoring — visit our solutions section for vacuum packaging equipment applications.
Five Steps to Implement a Seal Integrity Testing Program
Step 1: Characterize your product and package
-
Determine package type (flexible pouch, rigid tray, semi-rigid cup)
-
Identify seal configuration (heat seal, adhesive seal, ultrasonic seal)
-
Assess product characteristics (dry, wet, liquid, sharp edges)
-
Why it matters: Test method selection depends on package type and product characteristics
Step 2: Define your quality requirements
-
Establish acceptable leak rate limits
-
Determine sampling frequency (100% online vs. statistical sampling)
-
Identify regulatory requirements applicable to your product category
-
Why it matters: Different products have different safety and shelf-life requirements
Step 3: Select appropriate test methods
-
For high-volume production: non-destructive methods (vacuum decay, bubble test)
-
For process validation: destructive methods (seal strength, dye penetration)
-
For regulatory compliance: methods recognized by FDA, USDA, or ASTM
-
Why it matters: Each method has different sensitivity, cost, and throughput characteristics
Step 4: Establish testing frequency and procedures
-
Define how often tests will be performed (per shift, per batch, per hour)
-
Document test procedures and acceptance criteria
-
Train operators on proper test execution
-
Why it matters: Consistency in testing is as important as the test itself
Step 5: Document and respond to results
-
Maintain testing records for regulatory inspection
-
Establish corrective action procedures for test failures
-
Use test data to optimize sealing parameters
-
Why it matters: Testing without response is quality theater, not quality control
Real-World Application Scenarios
Scenario A: Medium-volume meat processor using double-chamber vacuum sealers
-
Products: Vacuum-packed subprimal cuts and retail portions
-
Primary concerns: Seal integrity with wet, marinated products
-
Recommended testing approach: Visual inspection of every package (seal area examination for product entrapment) + statistical vacuum decay testing (ASTM F2338) per shift + periodic seal strength testing (ASTM F88) for process validation
-
Why this approach: Wet products pose the highest seal failure risk; vacuum decay provides non-destructive verification without slowing production
Scenario B: High-volume seafood processor using continuous belt vacuum sealers
-
Products: Vacuum-packed salmon fillets, 10,000+ packs per day
-
Primary concerns: Regulatory compliance for reduced oxygen packaged fish; micro-leak detection
-
Recommended testing approach: Automated in-line vacuum decay testing (100% of production) + periodic dye penetration testing (ASTM F3039) for validation
-
Why this approach: High volume demands automated testing; FDA requirements for ROP fish justify the investment in in-line testing
Next Steps — From Testing Methods to Equipment Integration
You have now understood the primary seal integrity testing methods available — from simple visual inspection to advanced vacuum decay and dye penetration techniques — and how to match them to your product type, volume, and regulatory requirements.
The next logical step is to evaluate how seal integrity testing integrates with your packaging equipment. Questions to consider:
-
Does your vacuum packaging machine produce seals that consistently pass the test methods you have selected?
-
Can your testing program be integrated into your production line without creating bottlenecks?
-
What is the relationship between sealing parameters (temperature, pressure, time) and test results?
Answering these questions will help you move from quality testing to quality assurance, where the goal is not just to detect failures but to prevent them.
Related Reading
-
Food Safety Considerations for Vacuum-Packaged Fresh Products
-
Optimizing Heat Seal Parameters for Different Packaging Materials
-
Vacuum Decay Testing: Implementation Guide for Food Processors
-
Troubleshooting Common Vacuum Seal Failures
-
Regulatory Requirements for Reduced Oxygen Packaging





 English
 Pусский